

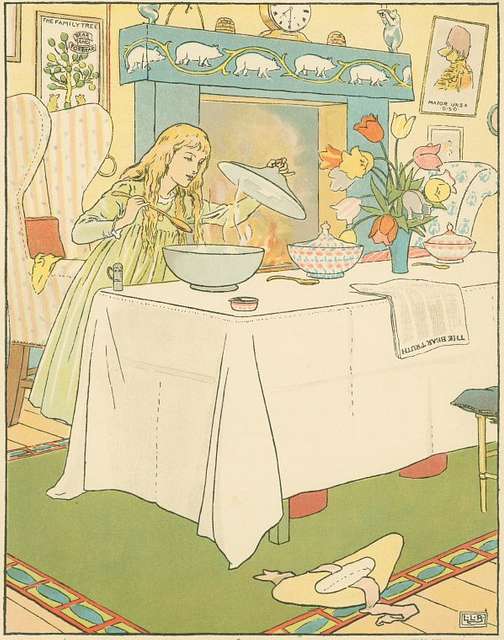
A new fruit tree will succeed best if you follow these eight tips.
When my daughter, lea, was on her way home from Qatar, a group of her dearest friends wanted to send her a going away present. They thought up the idea of sending her a fruit tree. That was a wonderful idea, and just perfect for lea since she already had in mind putting in gardens at her house. Plus, she hankered for vegetables and fruits.
Tip #1: Your Hardiness Zone Affects Your Fruit Tree
To choose the right tree that would have a chance to thrive here in at her house in Zone 8b, we had to start with a tree that liked Zone 8b. There are zones for every part of the United States and these zones basically tell you how cold it’s going to be in that neck of the woods.
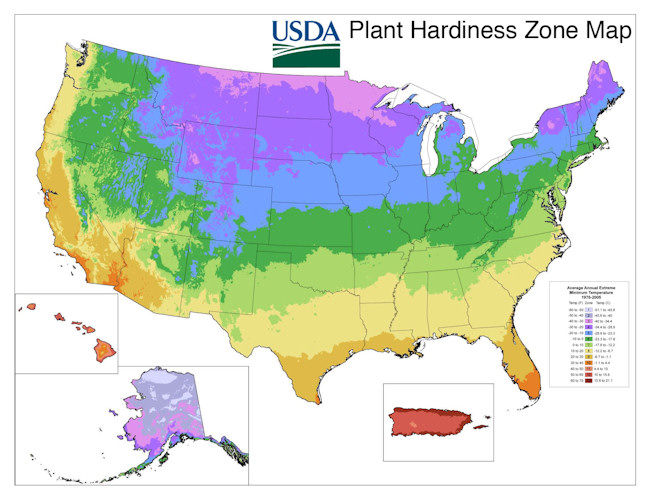
Or if you prefer the USDA wording: “The USDA Plant Hardiness Zone Map is the standard by which gardeners and growers can determine which plants are most likely to thrive at a location. The map is based on the average annual minimum winter temperature.”
If that made your head hurt, here’s that same map that you can use interactively and can tell you what your zone is. This map shows that lea’s house is in Zone 8b: 15-20° F is our average annual minimum by winter temperature.
Tip 2: Your Heat Zone Affects Your Fruit Tree
Of course, the problem for most of us Texans is how hot it’s going to be, but never fear, there is a heat zone map too.
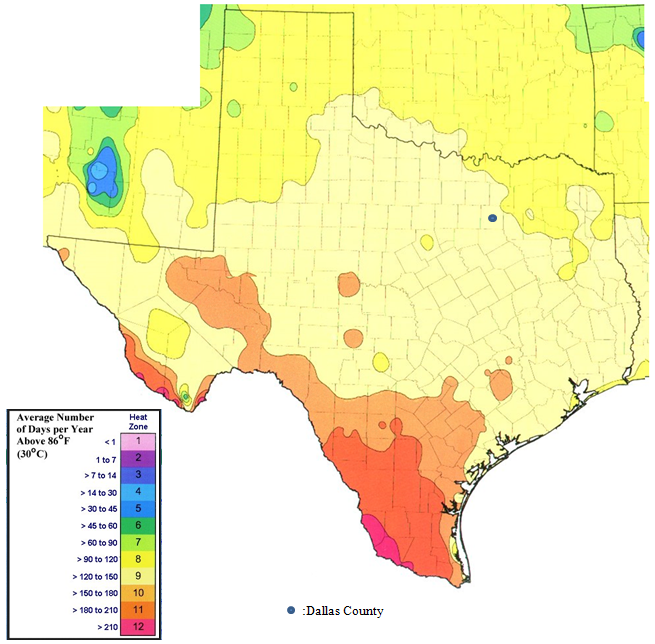
Click on this map to interactively find your heat zone. The map shows that lea’s house is in Heat Zone 9. That means we have 121 – 150 days over 86°F. Whew! No wonder I’ve been so hot!
Now, if y’all have come back after playing with those interactive maps, I’ll continue with the story.
Tip 3: Make Sure Your Fruit Tree Fits Your Particular Location
You can find the cold hardiness zone for some plants on the label or in the catalog, especially fruit trees. The problem is that the idea of a heat zone is a relatively new concept.
Therefore, most fruit trees do not have labels about what zone the poor little darlin’ tree wants to live in. So, the best advice there is to pick a tree from a nursery at least in the state of Texas, not Maine or North Dakota. If you can go to a local nursery and get advice from an expert there, that would be good. Texas A&M extension service provides lists of good varieties for different parts of Texas. Here’s a list for Travis County (Central Texas).
Also, check with other gardeners about fruit trees that thrive near you. Go on walks or go to botanical centers near you and see what fruit trees are thriving. I love to use the Seek app by iNaturalist to identify the interesting plants we find on our morning walks.
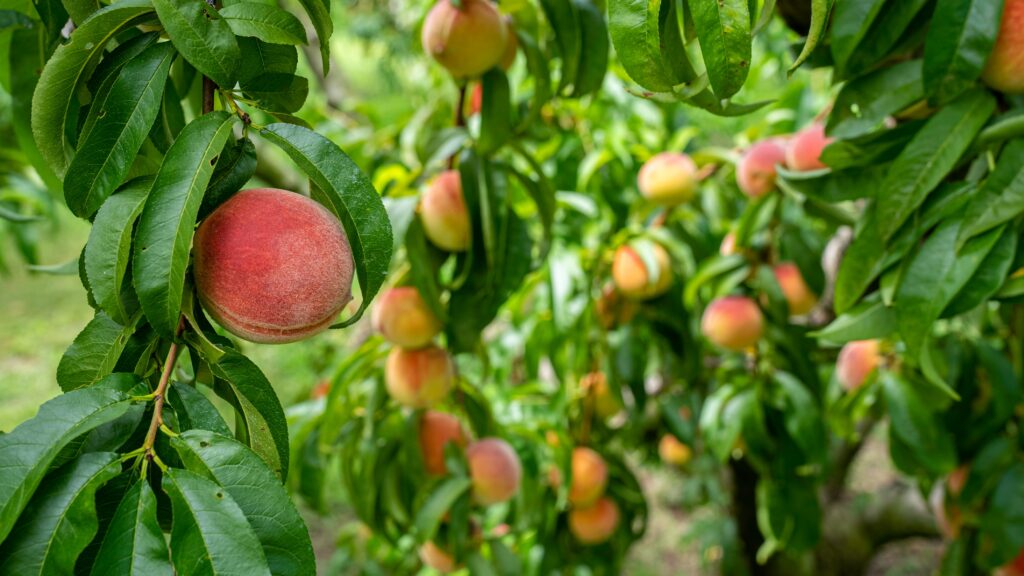
We chose lea’s peach tree from Womack Nursery, which is a lovely, family-owned nursery with all kinds of fruit trees located in DeLeon, Texas.
I don’t recommend going to a big box store and picking out a tree that they have by the dozens on a rack. They might grow, and they might not, but your chances improve with local advice.
Tip #4: Fruit Trees Have Chilling Hours
lea’s friends decided they wanted to send her a peach tree, so the next thing they needed to know was about chilling hours. Chilling hours are a lot like Goldilocks. You don’t want too high a number, and you don’t want too low a number, you want a number that is just right.
What the dickens are chilling hours I hear you wondering? Chilling hours are the number of hours between 32° F and 45° F from October 1 until February 28. The number of chilling hours tells you when the tree will bloom. If you get a tree with too many chilling hours, the tree will never bloom, or bloom so late the fruit will have a hard time developing. If you get a tree with too few chilling hours, the tree will bloom too soon. Sure enough, a freeze will come after the blooms have come, and that means no peaches for that year.
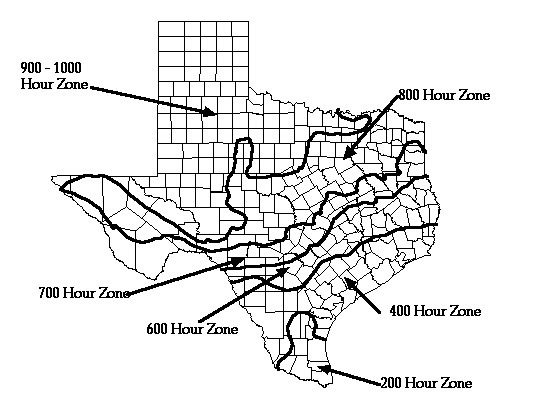
If you live in Texas, you can find your number of chilling hours on this handy map. Other states also have maps of the number of chilling hours based on their areas.
So, her friends picked out a tree with the number that we hoped was in the Goldilocks zone. What to do next?
Tip #5: Don’t Buy the Biggest Fruit Tree
While we Texans like things to be bigger (and things are bigger in Texas), this does not apply to your baby fruit trees. According to Texas A&M, pick out a tree that is in the 30-36″ tall range. Research has shown that this is the ideal size and will catch up with bigger trees after only a few years.
Tip # 6: Fruit Trees Need Full Sun
Did I mention almost all vegetables and all fruit trees need full sun? That is, the place you pick to plant it cannot be right beside your house because the house will shade it. And it can’t be right under another tree. It must be where the sun shines mostly all day. You must go out and look at your yard and find a sunny place to put your tree.
lea did that, and then we had to prepare the soil. Her spot was covered with Bermuda grass. Oh, for Pete’s sake, I hear you gardeners thinking. Bermuda is the grass equivalent to the Blob. Nevertheless, we forged ahead removing all the grass until we had a nice patch of dirt to work with.
Tip# 7: Dig a Good Hole for Your Fruit Tree
Our dirt here is clay (I hear another oh, for Pete’s sake.) We didn’t add anything to the clay because we didn’t want the tree to get lazy and only put its roots in the easy part. We put the tree in the hole we dug with just enough room for the roots, and added back the clay from the hole, and watered thoroughly. Count to at least 30 if you’re watering with a hose. It’s amazing how long that is.
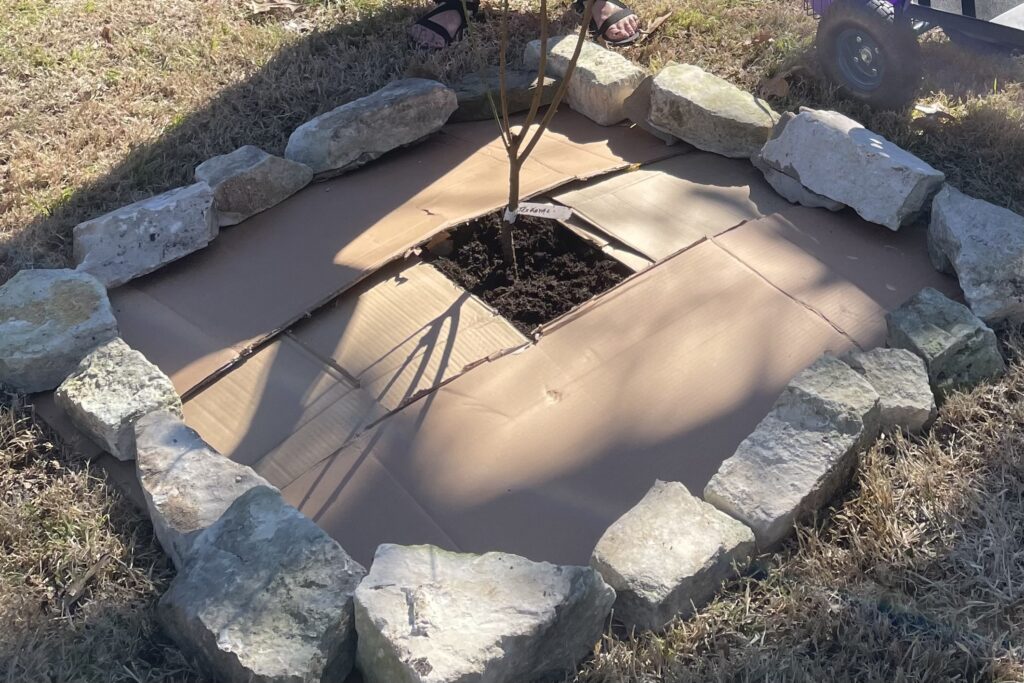
Tip # 8: Fruit Trees Love This Trick
Then we used the best trick ever that I learned from someone I don’t rightly remember but if I did, I would give them the biggest kiss ever because it is life-changing in the garden. I already wrote about this tip but it bears repeating. We put cardboard (corrugated is best) down over the clay. Then, we covered the cardboard with mulch.
The reason this is the best trick ever is because it has so many benefits to the garden. It keeps the hot Texas sun off the soil, which keeps the soil cooler. Cooler soil means happier little critters in the soil (I’m talking microbes here.) If the microbes can live better, they can help make better soil. The cardboard and mulch also keep the weeds from getting away from you. If weeds do grow in, they are easier to pull. And it helps build the soil into something a lot easier to garden in than the sticky clay we have here.
Voila!
lea has a newly planted little peach tree and we are dreaming of delicious peach salads and pies and I think I’ll go fix me some lunch because my stomach is growling.