
This post contains affiliate links. That means that if you make a purchase after clicking on a link I may earn a small commission at no extra cost to you. For more information, click here.
In our last post, The Major Elements Plants Need: N-P-K, we talked about the three important elements that contribute to your plant’s growth. This post will talk about testing your soil so that you know what is in your soil already that you may or may not need to add. Looking at your plants’ leaves (and possibly roots if the plant has died) may tell you what elements you may need to add, but if that doesn’t work, you need a soil test.
Testing your soil
Some soil tests can test the big three: N-P-K. Some can go much deeper and cover calcium, magnesium, and other minor nutrients. For our purposes, we are going to discuss the big three with the addition of alkalinity/acidity.
pH (Acidity and Alkalinity)
First, let’s discuss alkalinity and acidity. Alkalinity and acidity are measured on a scale called pH. The chemical description of pH is that it is number of hydrogen ions in a water solution. Whether we can remember that tidbit isn’t the important part. The important part is that pH ranges in numbers of 0 to 14, where below 7 is acidic and above 7 is alkaline. The lower the number, the more acidic the soil. The higher the number the more alkaline the soil.
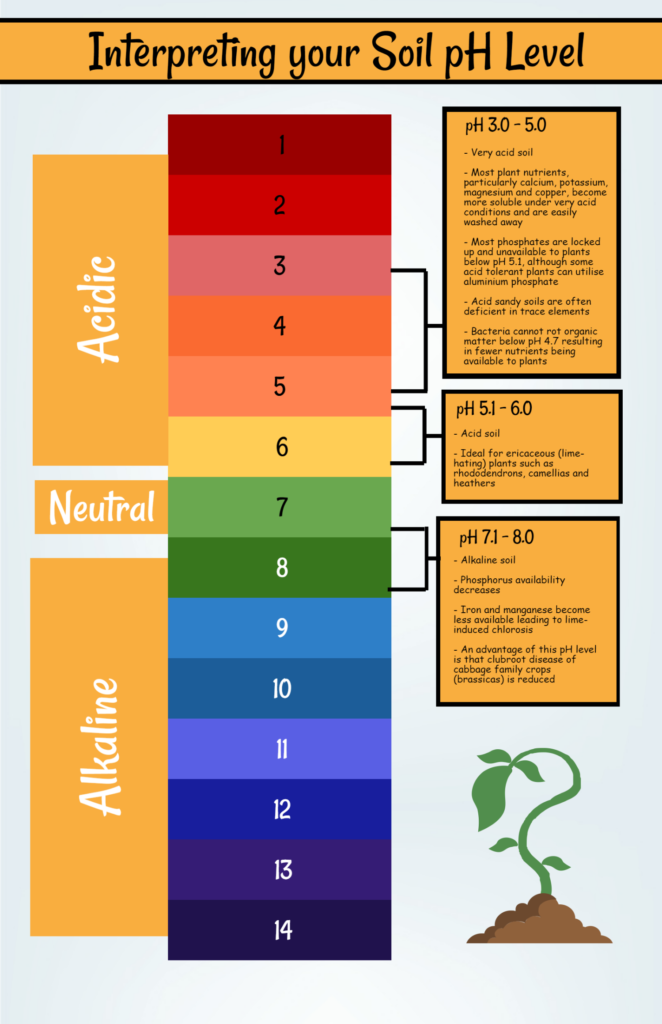
Most experts agree that it is a difficult task, if not an impossible task, to change the pH of your soil by more than a number or two. But you still need to know, in general, what your soil is so that you can choose your plants with an eye to what their needs are in terms of acidity or alkalinity.
Effect of pH (Acidity and Alkalinity) on Plants
There are just some plants that are going to be hard to grow in your neck of the woods. Although the ease of growing a plant can be the result of many things, alkalinity and acidity rule out many plants for your area, unless you are lucky enough to live in a neutral area.
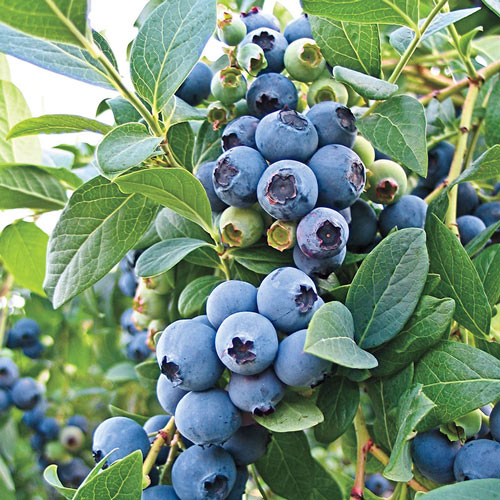
Blueberries are not going to be happy in my backyard because they thrive where the soil is acidic. Yes, you can amend the soil and raise the acidity, but it is going to take a lot of work. In my case, even the water here is also alkaline, so I would need to amend the soil to raise the acidity, and then water the blueberries with distilled water or rainwater.
Grammy’s Alkaline Soil
I tend to just deal with the alkalinity of my soil rather than trying to change it. For instance, where I live the soil is alkaline, and strongly alkaline. What that means in practice is I don’t grow perennials that need an acidic soil.
One problem with very alkaline soil is that it is hard for iron to dissolve in the water for uptake into a plant. That can lead to a plant that looks like it’s low on nitrogen, but it is actually fine with nitrogen. Such a plant needs a little something acidic to dissolve the iron.
Plants that Grow In Alkaline Soil
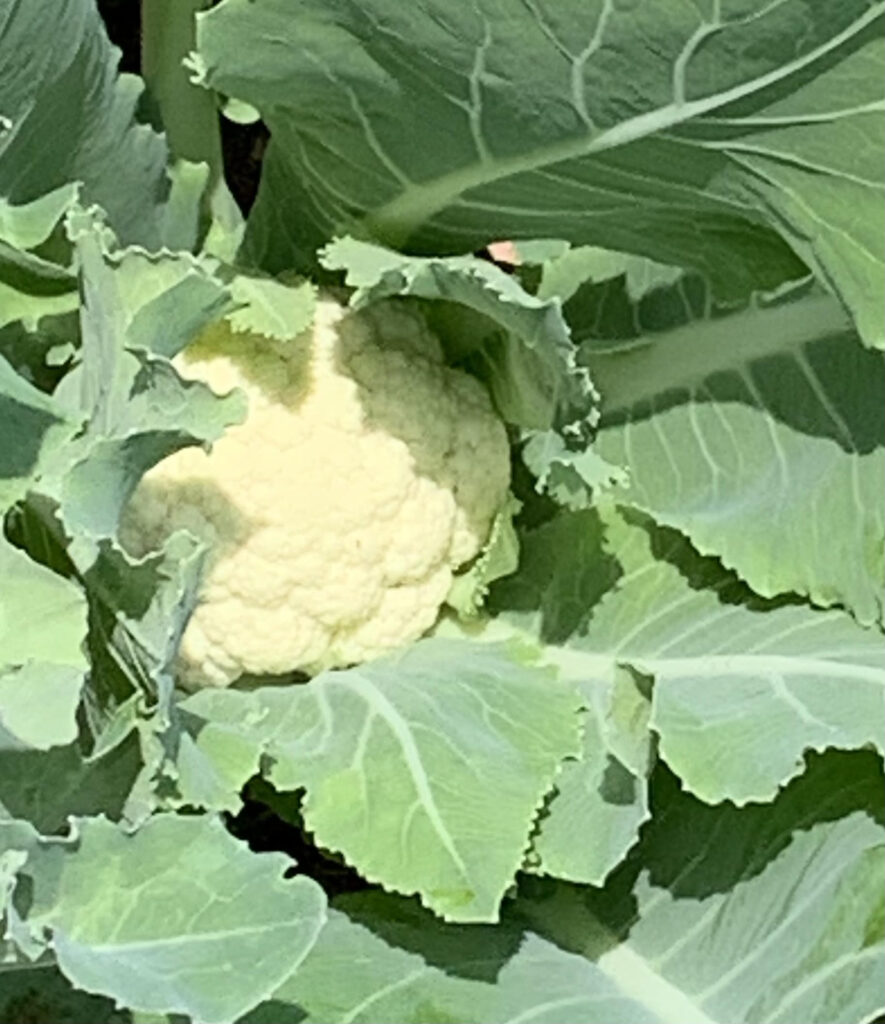
Blooming Back Yard has a nice list of vegetables that do best in alkaline soil: Asparagus (6.0-8.0), Beans, pole (6.0-7.5), Beet (6.0-7.5), Brussels Sprouts (6.0-7.5), Cauliflower (5.5-7.5), Garlic (5.5-8.0), Kale (6.0-7.5), and sweet pea (6.0-7.5).
And they also have a list of flowers that like alkalkine soil: Anchusa, Borage, California Poppies, Lavender, Lily of the Valley, Phacelia, Polemoniums, Trifolium (Clovers), Viper’s Bugloss, Wild Marjoram. Of these, I’ve only grown borage, California poppies, lavender, trifolium (clovers), and Wild Marjoram.
I’ve grown many other flowers with much success. For instance, my favorite flowers to grow are zinnias, verbenas, wild bergamots, obedient plants, calendulas, as well as others. The point is that you may be able to grow many things, but some things are going to require a lot of care because of their acid/alkaline preference.
Using a Soil Test and My Results
It is easy to test for alkalinity/acidity. It is also possible to test for N-P-K, although perhaps not so easily. With the results of these tests, you can adjust what kinds of fertilizers you might add to help your plants along.
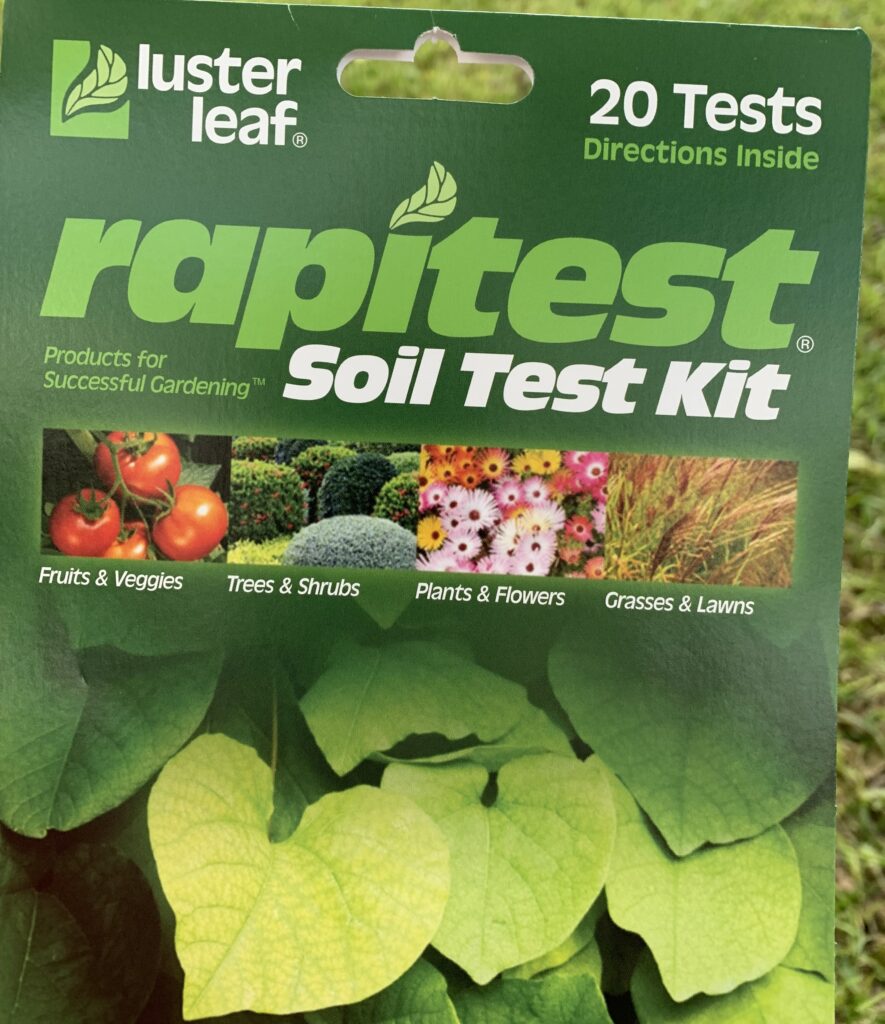
I got a soil test kit from Amazon. Then the fun began. Okay, not so much fun but interesting results.
Procedure for Testing your Soil
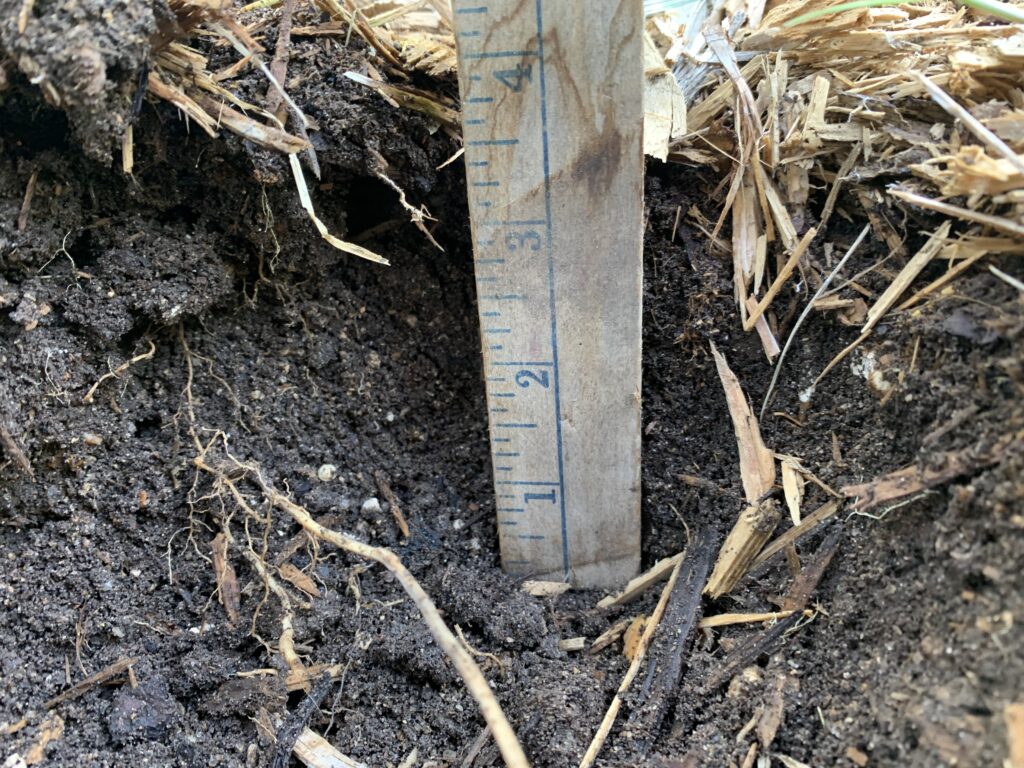
I dug a 4-inch-deep hole to collect my sample of soil.
The test instructions say to avoid touching the sample with your hands. I was also careful to use a clean bucket and other implements. Lay the soil out on a tray to dry, and remove any weeds, stones, or other big particles. Using a clean implement, crush any lumps of soil. Mix thoroughly.
Testing your Soil for pH
For the pH test, you fill the little container with a tiny bit of soil up to the line indicated. Then with the provided dropper you add water. The first time I used regular tap water. The second time I used distilled water. It made a huge difference. Finally, you add the contents of a capsule provided by the test and shake it up. After the soil settles and the color develops in about a minute, you have the results.
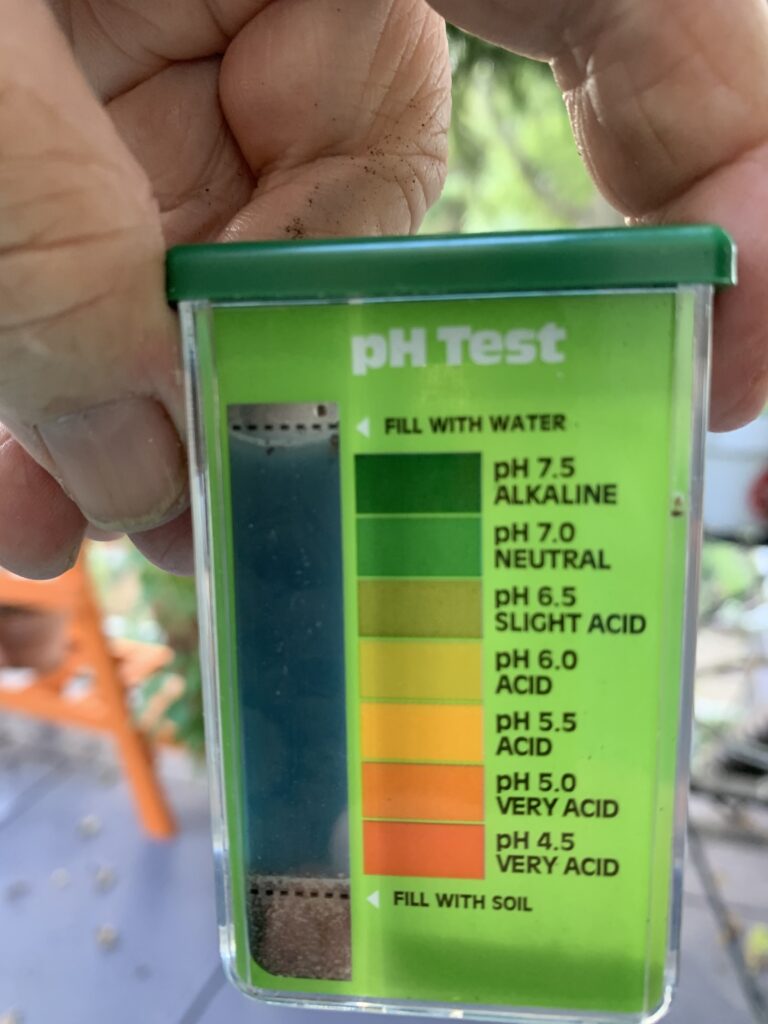
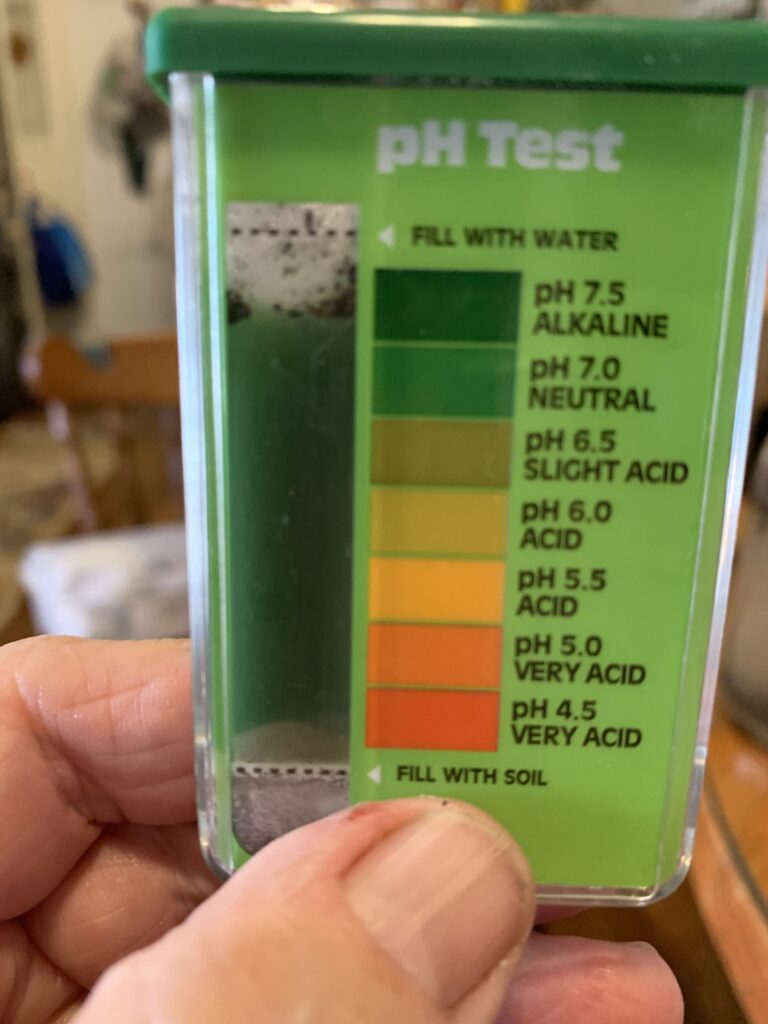
Here are the results of the pH test, the first with tap water and the second with distilled water. You can see that I am dealing with extremely alkaline soil. Acidic amendments may help, and some frequently recommended amendments are definitely not going to be good for my soil and my plants.
Testing Your Soil for N-P-K
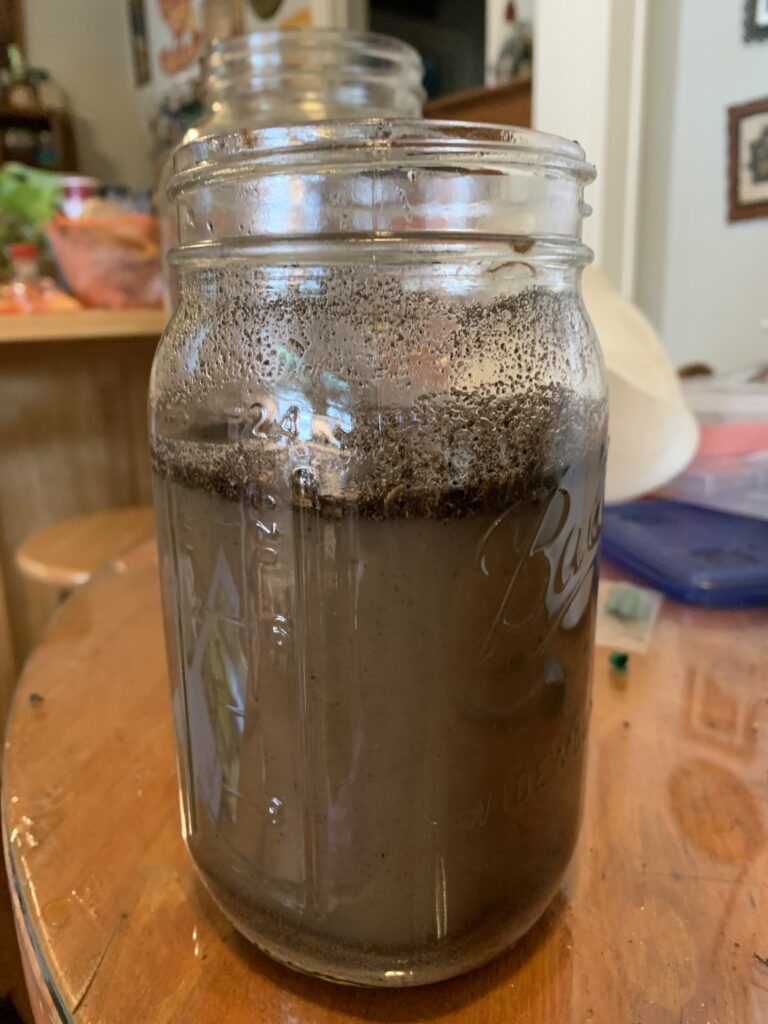
For the N-P-K tests, you make a solution of soil and water first.
Testing Your Soil Procedure
You use 1 cup of soil and 5 cups of distilled water (or a 1 to 5 soil/water ratio). After shaking the soil/water solution, you let it settle for 24 hours.
Using the dropper, you add the liquid part of the solution to fill the little containers for the N, P, and K tests. You add the matching color of capsule to the container, close the lid, and shake thoroughly. Allow the color to develop for 10 minutes.
Results of N-P-K Tests
Here are the results of the nitrogen, phosphorus, and potassium tests.
Testing your Soil for Nitrogen
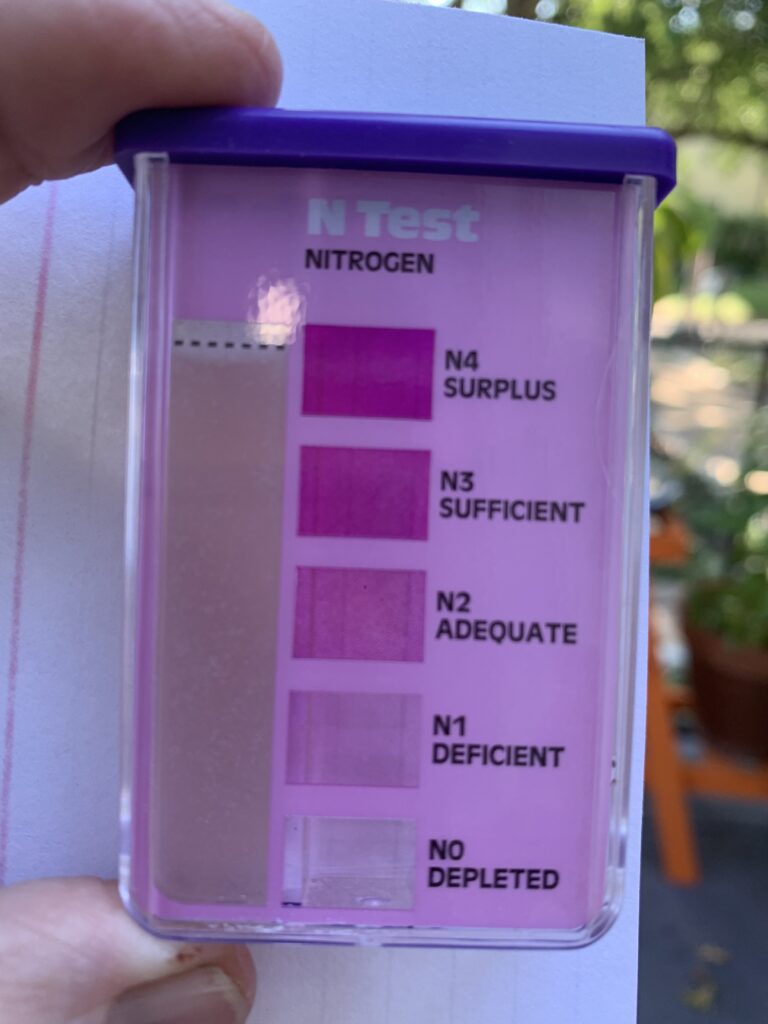
It looks like my soil needs nitrogen, which is not surprising since I took my soil sample at the end of the hot summer after growing tomatoes there. Nitrogen is used heavily by tomatoes, and the heat also decomposes nitrogen. (This is another good reason to move your plants around to different areas of the garden, so that plants with different needs will perhaps be moved to a better spot for them.)
Testing your Soil for Phosphorus

Testing your Soil for Potassium
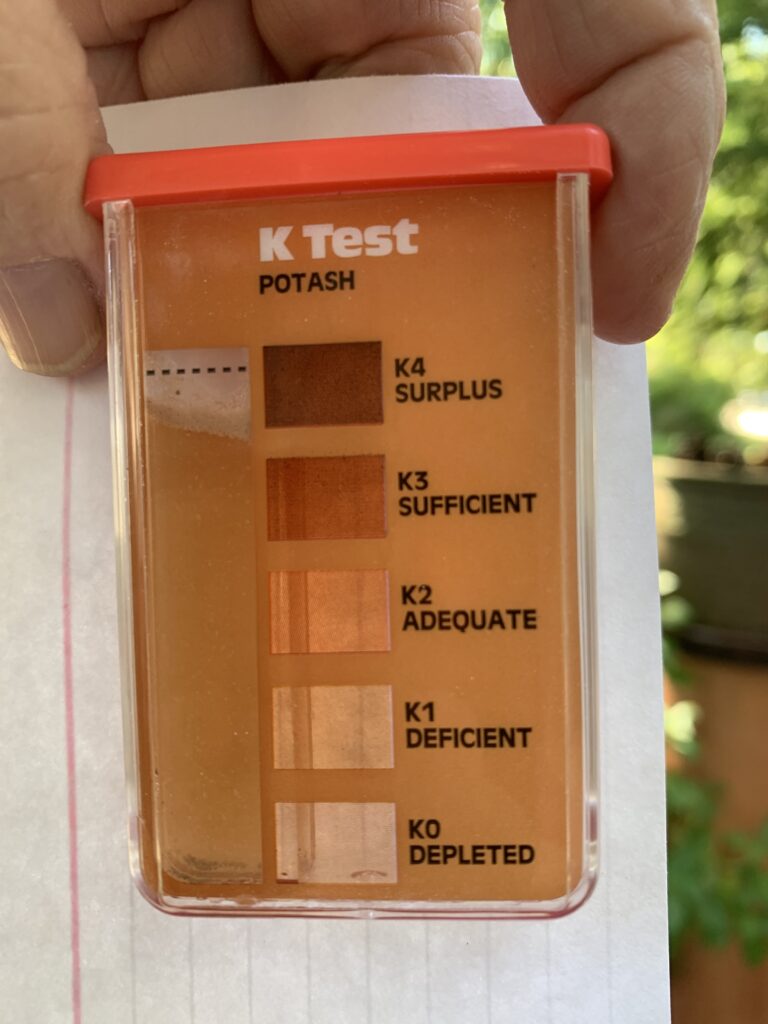
The P and the K tests look like those two elements are adequate.
Conclusion
I’m not too happy about the ease of interpreting the soil test. The colors do not match the scale exactly. Even so, we are able to get an approximate scale of how much of each nutrient is in the soil. For an even more precise measure, you should check with your extension agent for a nearby lab that does soil testing.
It is important do to the soil tests so that when you fertilize, you are not wasting money by adding a nutrient that is already there.