Lots of seeds grow easily into seedlings. However, before you stick seeds in the dirt, knowing some important tips will increase your success rate .
Well, for most folks. My grandson has had great success taking nasturtium seeds and dropping them throughout the garden. Then, the family is surprised with happy orange blooms in the least expected places.

[This post contains affiliate links. That means that if you make a purchase after clicking on a link I may earn a small commission at no extra cost to you. For more information, click here.]
Seeds Grow Best Knowing What, When, and How
For the rest of us ordinary mortals, when we want to grow a plant from seed, there are the what, when, and how to consider. For instance, when should I plant the seed? Next, where should I plant the seed? Finally, how do I plant it?
When to Plant a Seed
Seeds can be started almost any time of year, depending on the plant’s preferences for the season it likes to grow. You can generally find the information for the plant’s preferences on the seed packet, but as always I recommend checking the specifics for your area by searching for your county + extension office planting calendar (ex: Williamson county extension office planting calendar).
Seeds Grown Indoors
A popular time to start seeds is indoors when it is too cold for outdoor planting. If you are planting seeds that need a lot of sun, make sure you have a lot of light available or the seedlings will become spindly. A very bright sunny window will work, or you can use a plant light if your seeds need additional light. Here’s a link to a light I have tried and like.
Late winter is the time to plant your summer seeds. Find your last average freeze date, and count back six to eight weeks. That’s the time to plant your seeds for tomatoes, peppers, and other tender plants that need the shoulder season to produce before it gets too hot.
What’s a Last Freeze Date?
That is the average date that you experience the last freeze in your area. You can find that out by checking out this map from the National Oceanic and Atmospheric Administration (NOAA). The map has many dots for each location. You can enter your zip code to find your exact location. In Taylor, where I live, the average last freeze date is March 8. Now knowing anything about weather, which we all do, we know that it is very unpredictable. You can plant after March 8, but be ready to protect your tender plants in case of an unusually late freeze.
Grow Seeds in Pots vs. Direct Seeding
I like growing plants from seeds in some small container before I plant it in the ground. I feel like I can help the plant with a better start when I can watch it carefully through its baby stage.
Some seeds, however, shouldn’t be started as transplants. Usually, the reason for this is that they grow so fast, they outgrow any container you choose. Another reason may be because the process of transplanting may damage the roots, even if only slightly, and then the transplant dies.
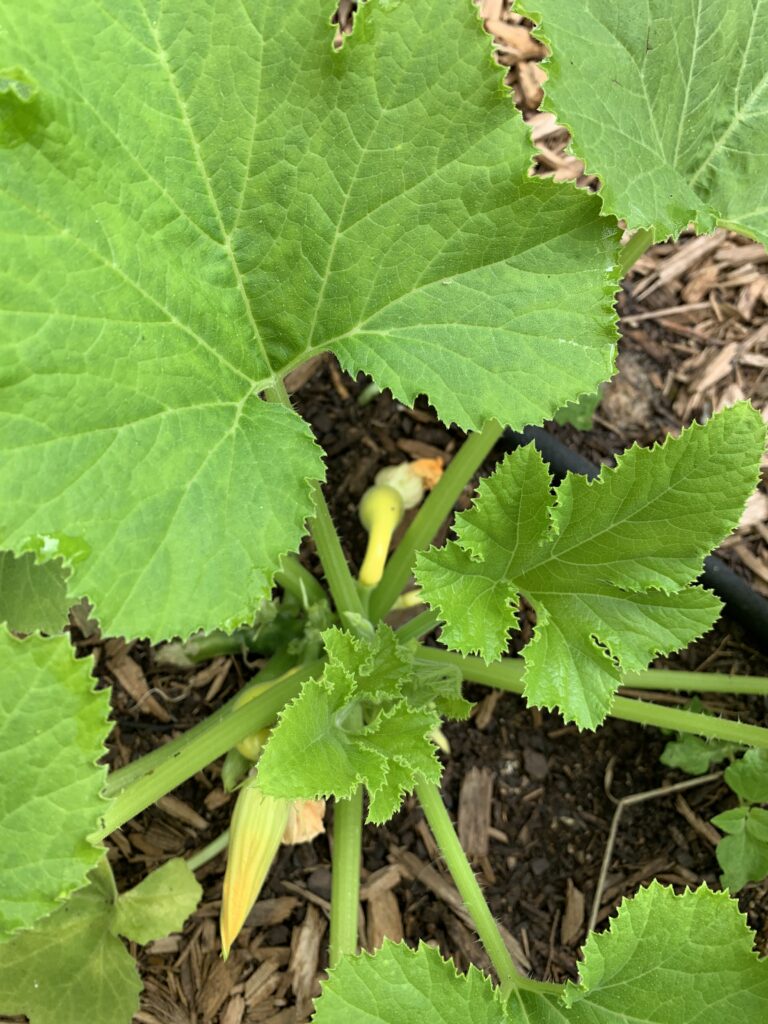
Examples of plants that should be directly seeded into the garden are squash, pumpkins, beans, and cucumbers. You will find seedlings of all these types of plants at your big box stores, but I recommend to pass them by. They will not perform as well as if you had directly seeded them into the garden. Get yourself some seeds and plant in your garden directly.
What Makes Seeds Grow
The what of growing seed includes the plant variety, how easily a plant will germinate, is light required for germination, and do the plants need a cold or freezing period to germinate.
Variety Determines Success
Seeds grow best if they are matched to your environment. That means you should use varieties that succeed well in your plant zones. More on that topic can be found in the post here. Here is the Texas A&M extension website for more information on good vegetable varieties for Texas. As mentioned above, You can put in your county and get a list tailored to your climate.
Grow Seeds that are Easy Germinators
Some plants are very fussy in their germination needs and some are not. It’d be good to start your exploration into seed planting by experimenting with easy to grow seeds, such as zinnias, nasturtiums, broccoli and even tomatoes. After you succeed with a few easier ones, you can stretch your horizons into the fussy seeds.
Grow Seeds That Require Light
Some seeds require light to germinate. Most of these are probably not in the “easy germinators” category, but it is important to look for this requirement on the seed packet (see below). These seeds should be carefully left uncovered, and watered gently to be sure the soil doesn’t wash over the seed and keep light from getting to the seed.
Freeze Seeds That Need It
Some seeds need to be frozen or at least refrigerated, before they can sprout (cold stratification). Although I was a bit leery of freezing seeds in the early days, I was convinced to try it after I heard that the international seed bank freezes all its seeds.
Planting the Seeds
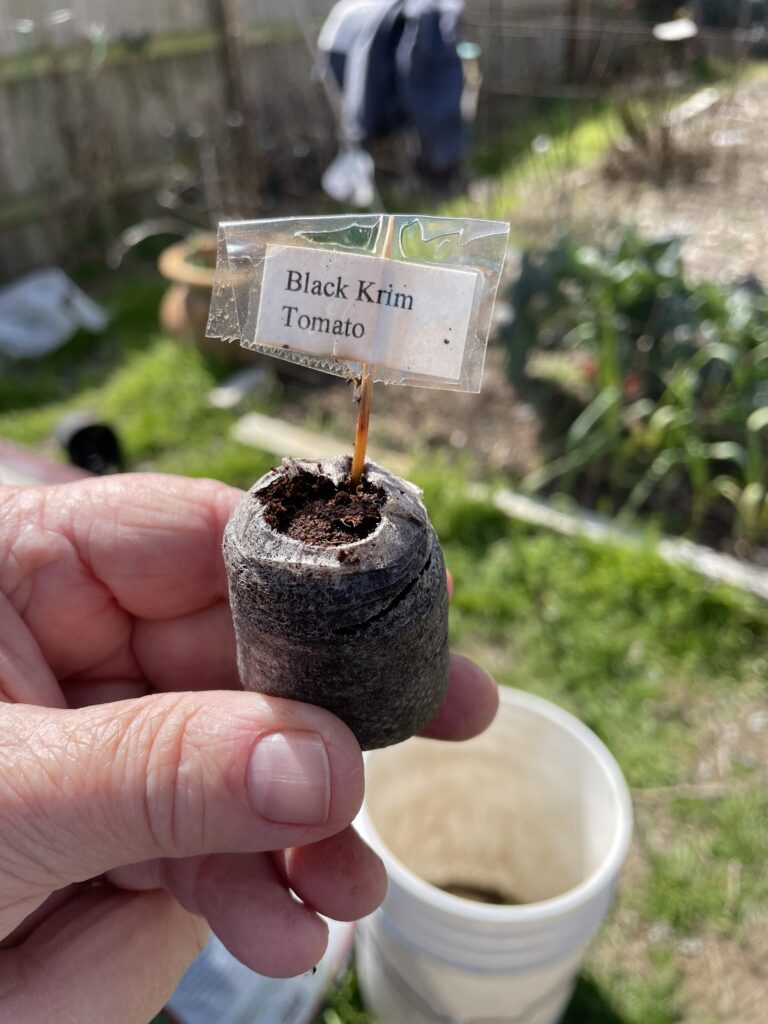
After all those considerations, it is finally time to get those seeds in some potting medium. (The next post will talk about what planting medium you might want to choose. For now, I am going to use peat pellets as an example.)
Planting Directions
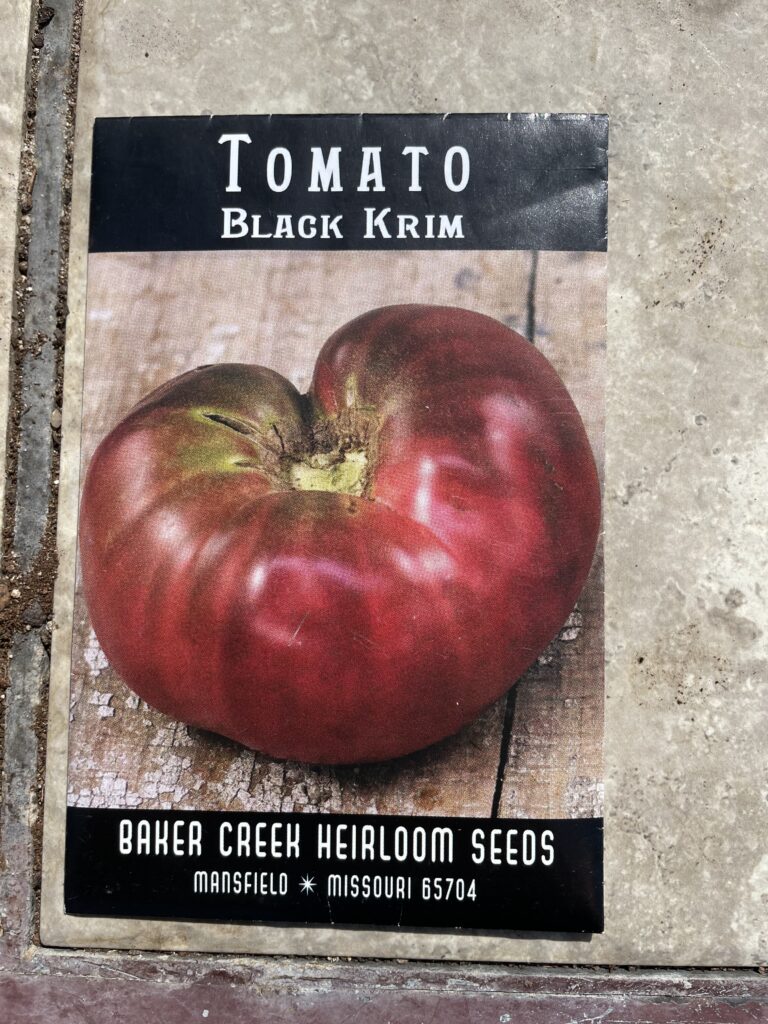
Look on the back of your seed package to find valuable planting information, such as when to plant that particular plant, the depth to plant the seed, and the spacing of the transplants. Some companies leave the planting information out, so you can check on their website or other websites to find the information you need.
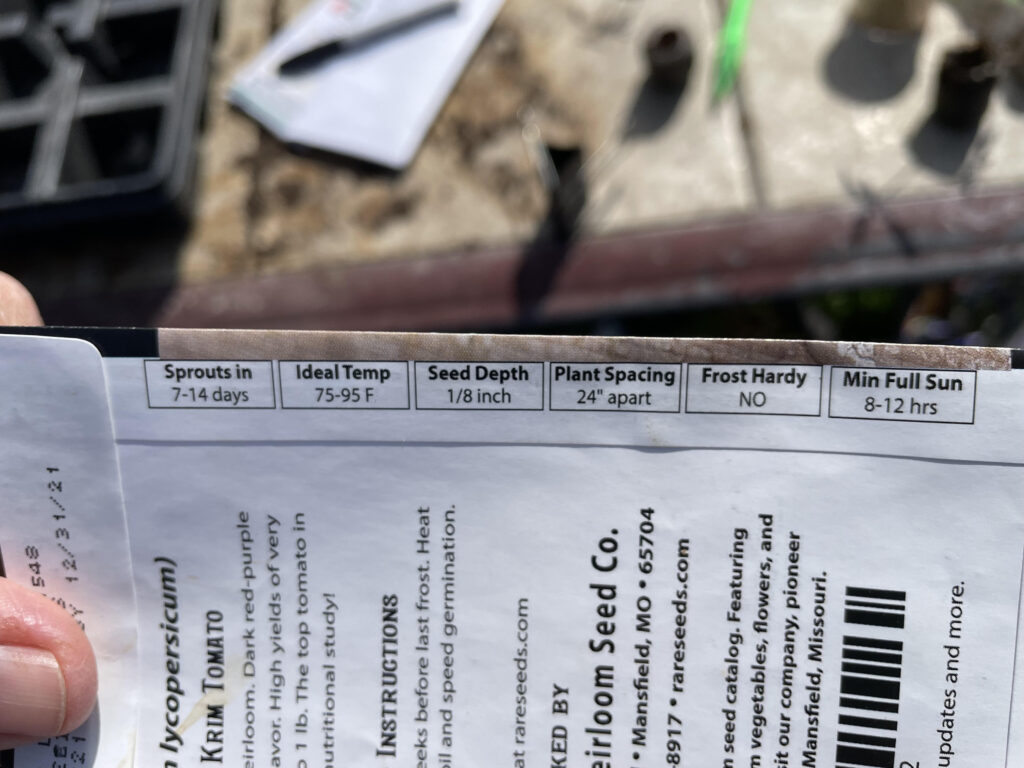
Usually the seed package tells you the ideal planting depth for the seeds. This may vary from ¼ to 1 inch deep. Some seeds even say to lay the seed on top of the soil because those seeds need light to germinate. The depth is not particularly fussy most times. Try to stay close. Also, I have heard many experts say that you can use the size of the seed as a guide, plant the seed as deep as it is big, if you can’t find the planting depth on the packet or other means.
Assemble Tools to Grow Seeds
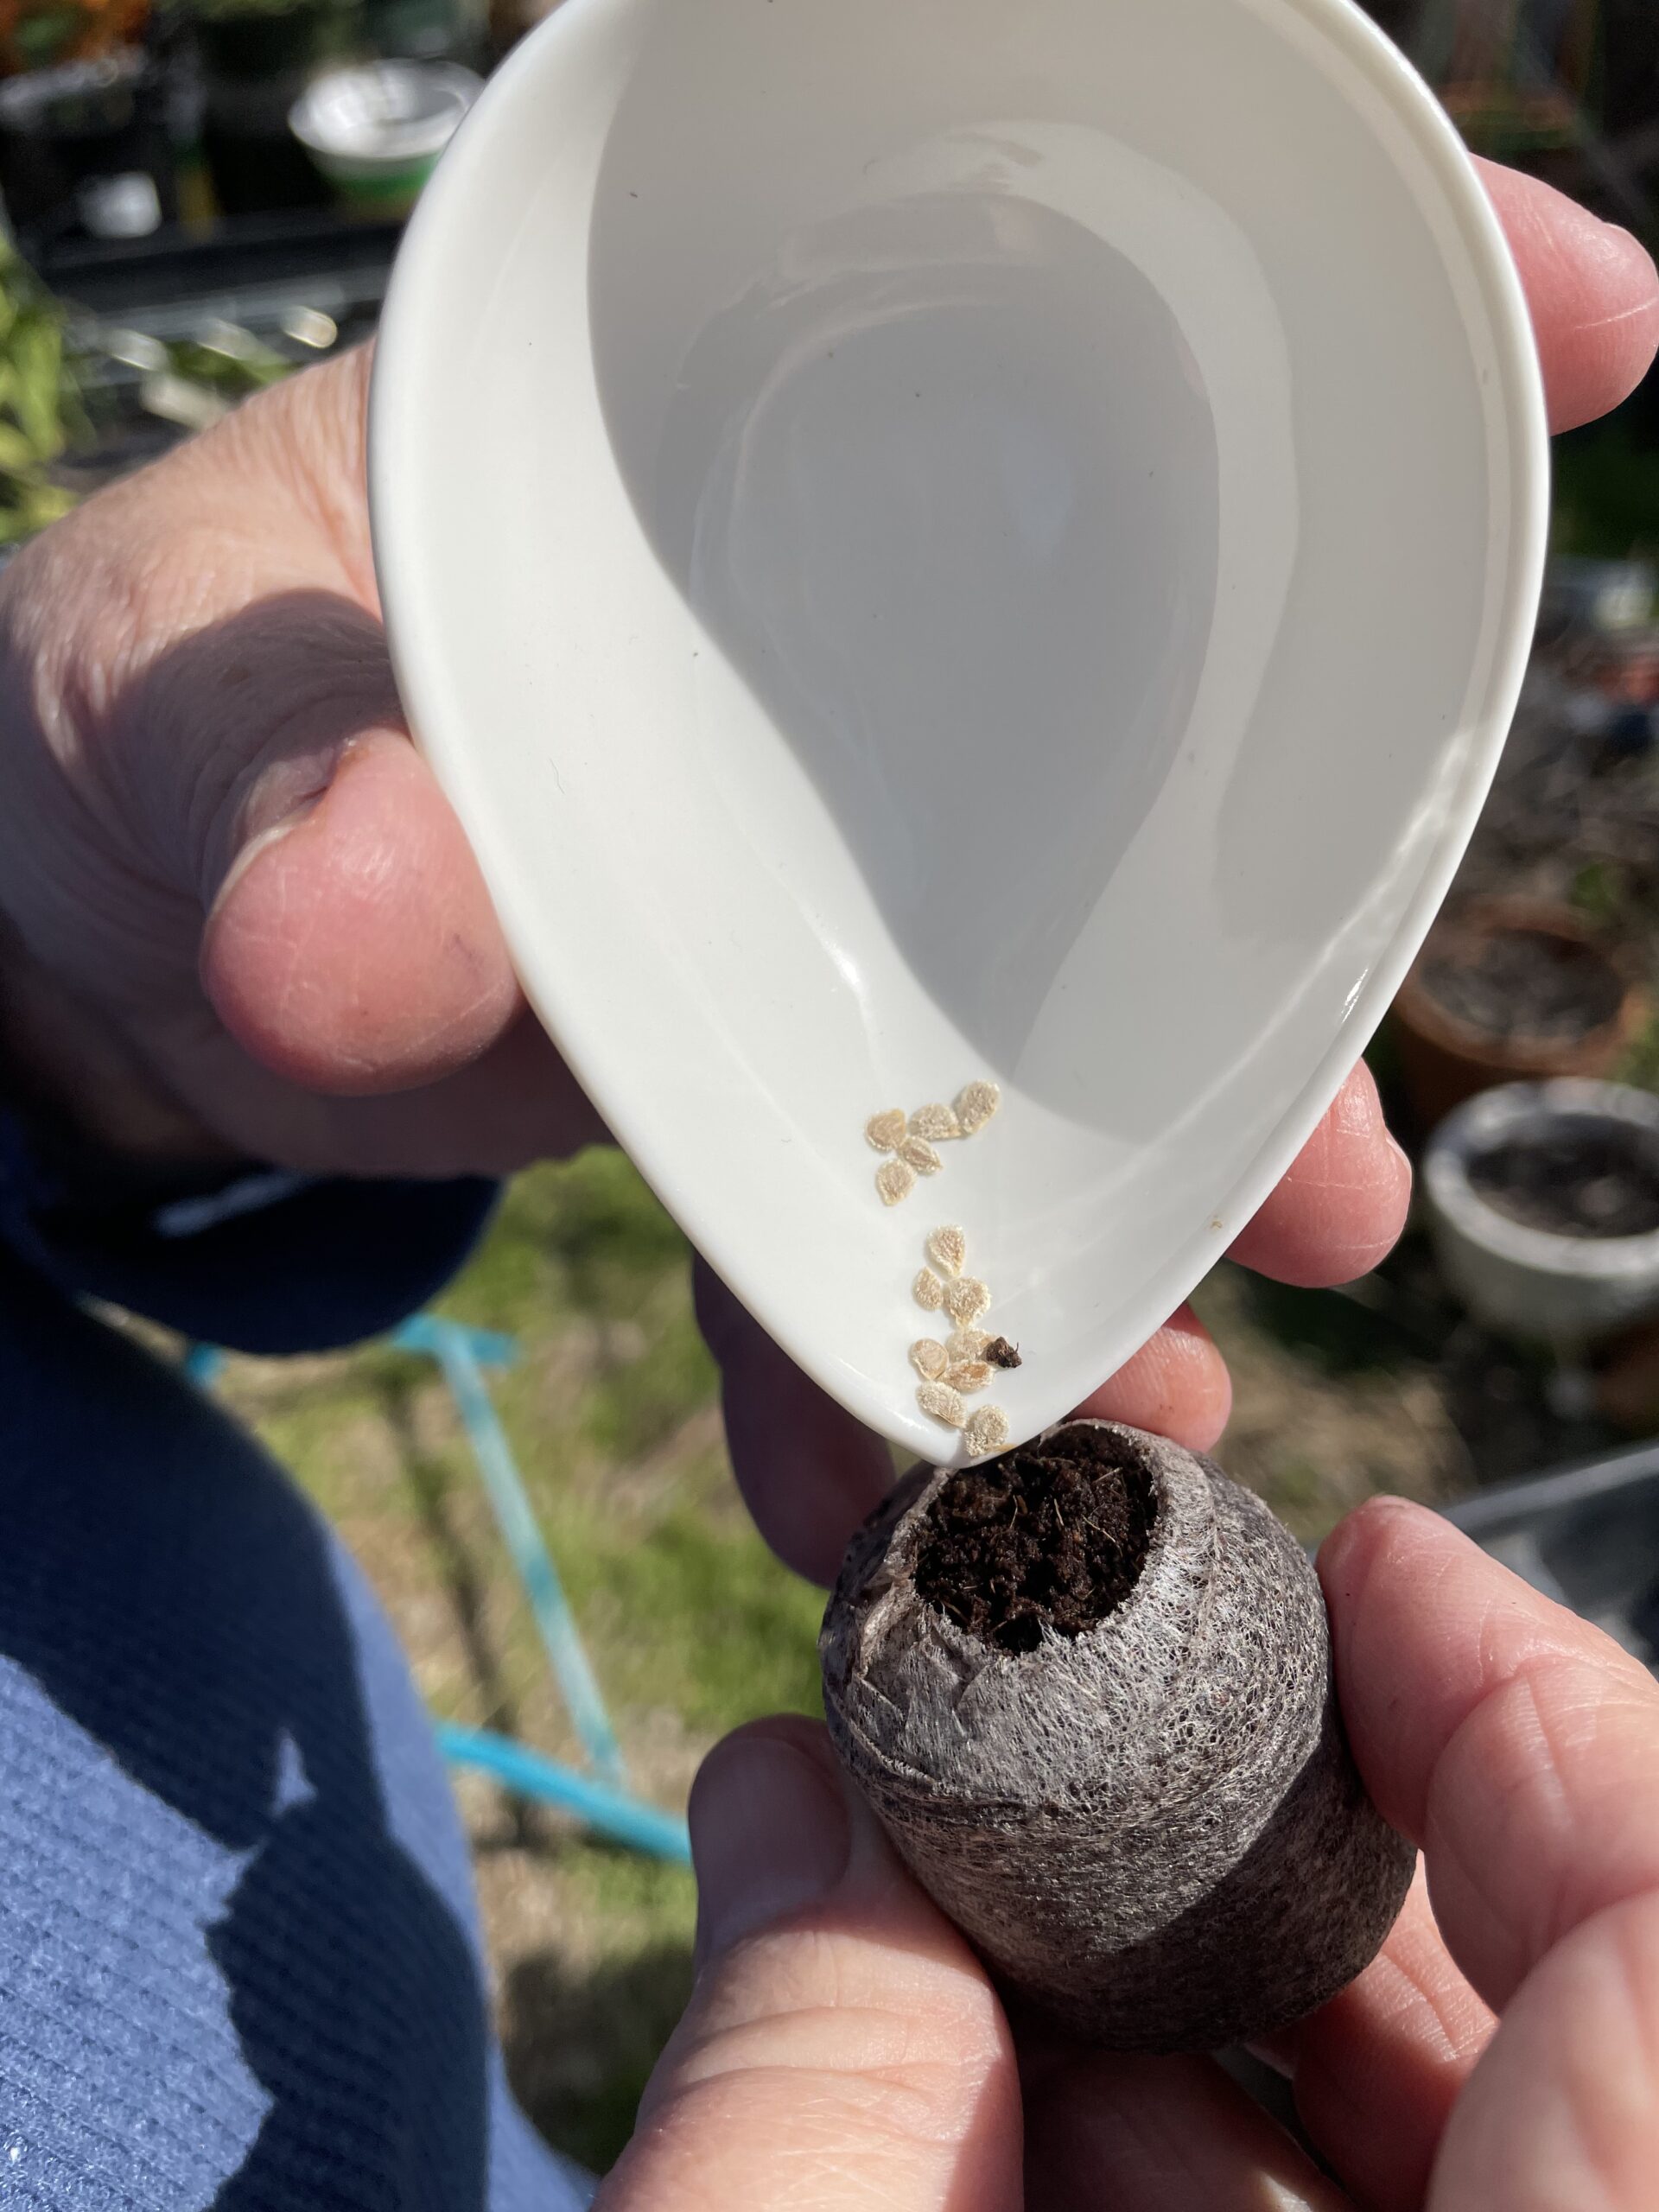
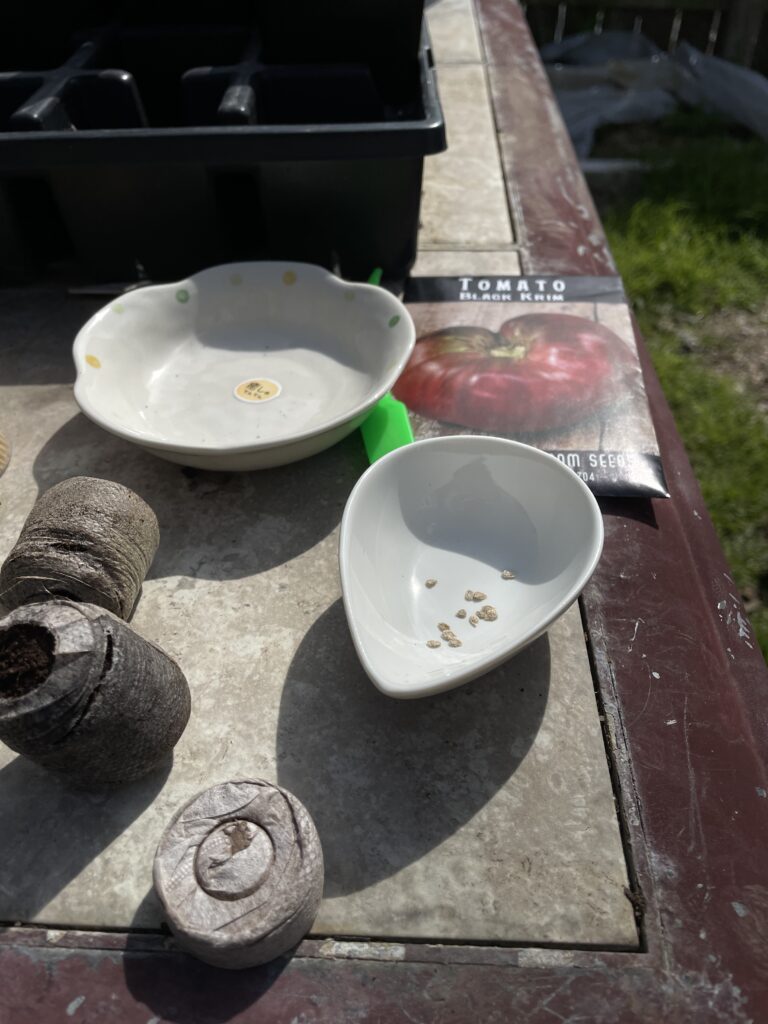
Assemble your planting tools. A small dish to hold the seeds makes it easier, and a pointy dish can be used to pour seeds onto the potting medium. I often use toothpicks to pick up the seeds. This season I decided to use peat pellets. They begin flat, and when soaked in water swell up to the perfect size to start seeds.
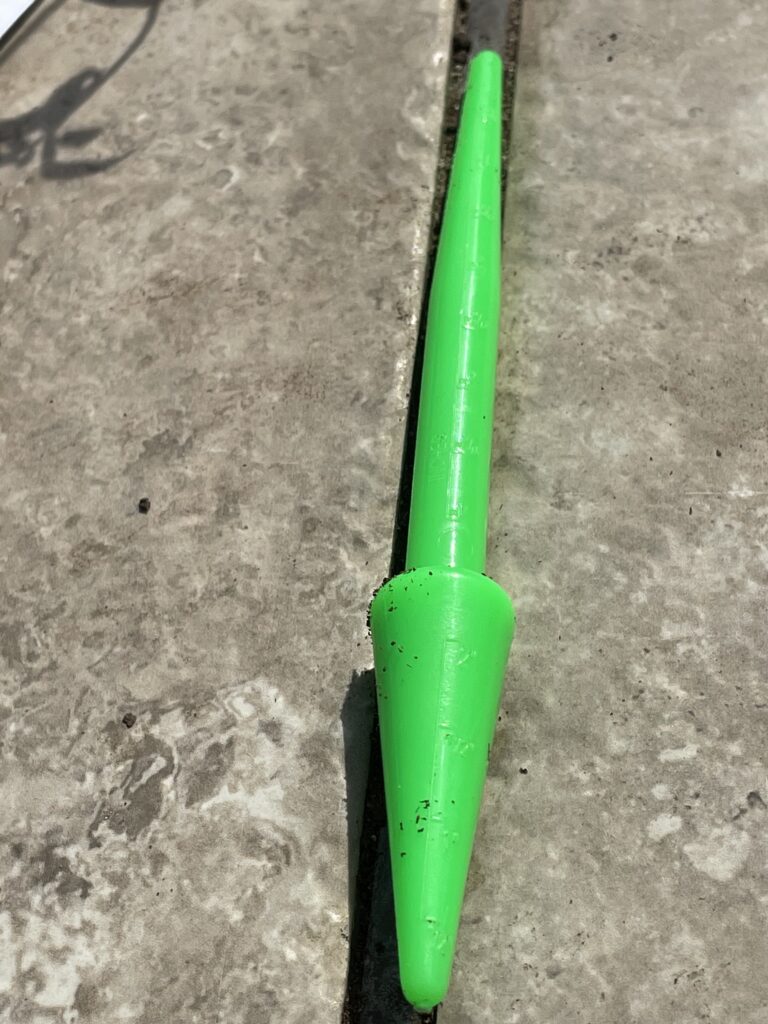
A dibble with measurements helps make the correct depth hole in the potting medium.
Putting the Seeds in the Soil
Finally, we are ready to get those seeds in the soil! How will we do that?
Picking up the Seeds
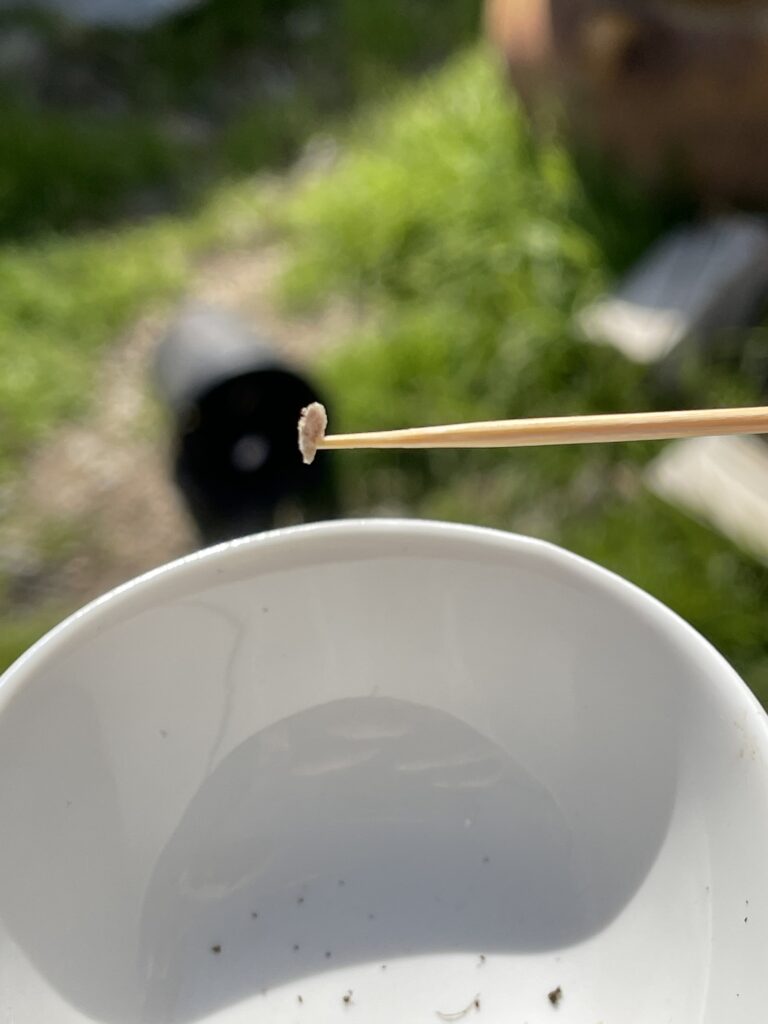
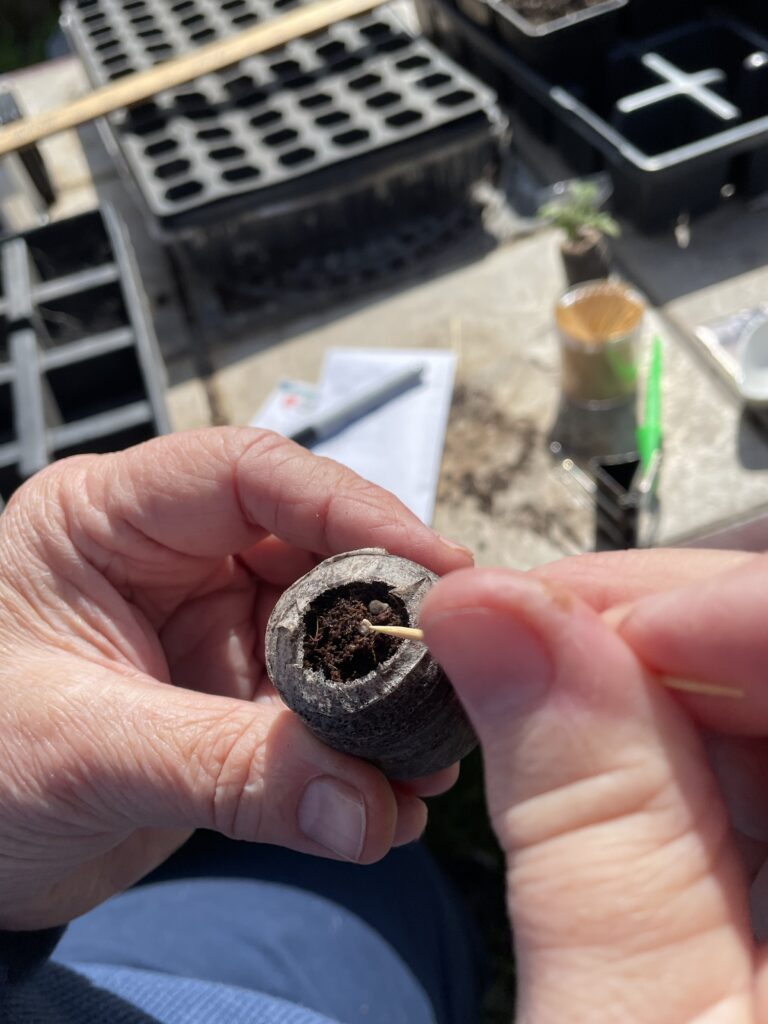
Toothpicks are great for picking up seeds. Just dip the toothpick into water, and the seed is picked up by the surface tension. Then you can place the seed easily in the potting medium.
Grow Seeds at Correct Depth
Then, add your seed. I like to push the seed down to the required depth with my toothpick. Or you can use your dibble to create a hole, and then drop the seeds in. I usually put 2 seeds in each pellet or space because seeds are cheaper than the peat pellet, as well as my time. All seeds do not germinate. Two seeds doubles my chances of getting a seedling.
Seeds Grow Best in These Environments
Seeds need a good environment after they are planted. As mentioned above, you need lots of light. Let’s take a look at some of the other important factors.
Keep your Seeds Wet
After the seed is at the correct depth, and covered with soil, it is important to keep the planting medium wet until the seedling appears. Potting medium can crust over if it dries out and some seedlings have trouble getting through the crust.
Keep Your Seeds Ventilated
Put a little fan near your seedling pots or pellets. This keeps the fungus that causes “damping off” from killing your seedlings. The “damping off” fungus attacks the seedling at the stem, and then the seedling falls over and dies.
Next Steps
In about six to eight weeks, your little seedling will have grown into a reasonable size for the next steps: potting up into a 3″ pot or planting into the ground. We’ll talk about those steps in the next post.